
One Room Challenge | Spray Painted Countertops: Are They Worth It?
Okay guys it is now week two of the spring 2020 One Room Challenge! In case you missed it, you can catch my full before tour and design plans in last weeks post by clicking here. This week I'm here to share with you the cold hard truth about spray painted countertops.

Does the thought of using spray paint on your countertops sound crazy? If it does, thats okay because off the bat I thought so too. However, my DIY/budget loving self couldn't resist wanting to give it a go. So off to Home Depot I went to purchase a can of Rust-Oleum appliance epoxy spray paint. It cost me a whopping $4. The product claims to be washable and moisture resistant aka, perfect for a bathroom. So the first thing I did was gently wipe down our counters and bathroom sink with clorox wipes and let it dry. Then came the most crucial part, prep. This spray paint is STICKY. It's not like traditional spray paint and the mist will make a mess so you absolutely must prep well. I used trash bags, cut to size and painters tape. As you can see in the pictures we covered a good sized area however I honestly wish I had covered the mirror even higher as well as the floors. The sticky residue from the spray was obnoxious to clean off the floors and mirror so during your prep don't worry about overdoing it, cover as much as you can.


Next you're going to need to cover your faucet and drain cover. Now in hindsight I would have replaced our old faucet with the new faucet prior to spray painting. However, I was concerned with potentially ruining the new faucet and in turn made a bigger headache for myself but I'll touch on that later. To cover the faucet I used a small trash can liner and wrapped it around the faucet. I found the small trash liner was easier to work with because it was thinner than a normal trash bag. Don't worry if it isn't covering the bottom of the faucet well. This will be taken care of with painters tape. Once you have the bag secured around the majority of the faucet use painters tape where the faucet meets the counter to secure the bag and ensure no spray paint can penetrate. Use painters tape to cover the drain cover, its tedious but worth it.

Now, it's time to spray. Try to keep the can moving quickly and obtain full coverage before moving on to the next section. I found that there was minimal dripping or running with this product compared to normal spray paint which was great. I could get pretty decent coverage without worrying about runs. If you decide you need another coat you must do it within 30 min. Otherwise you lose the opportunity to do so for at least another 7 days. This will be an important point I bring up again later. But after two coats I was extremely pleased with the look so as soon as I finished spraying the second time around I removed all the tape and trash bags so I didn't risk pulling up the paint when it dried.

 |
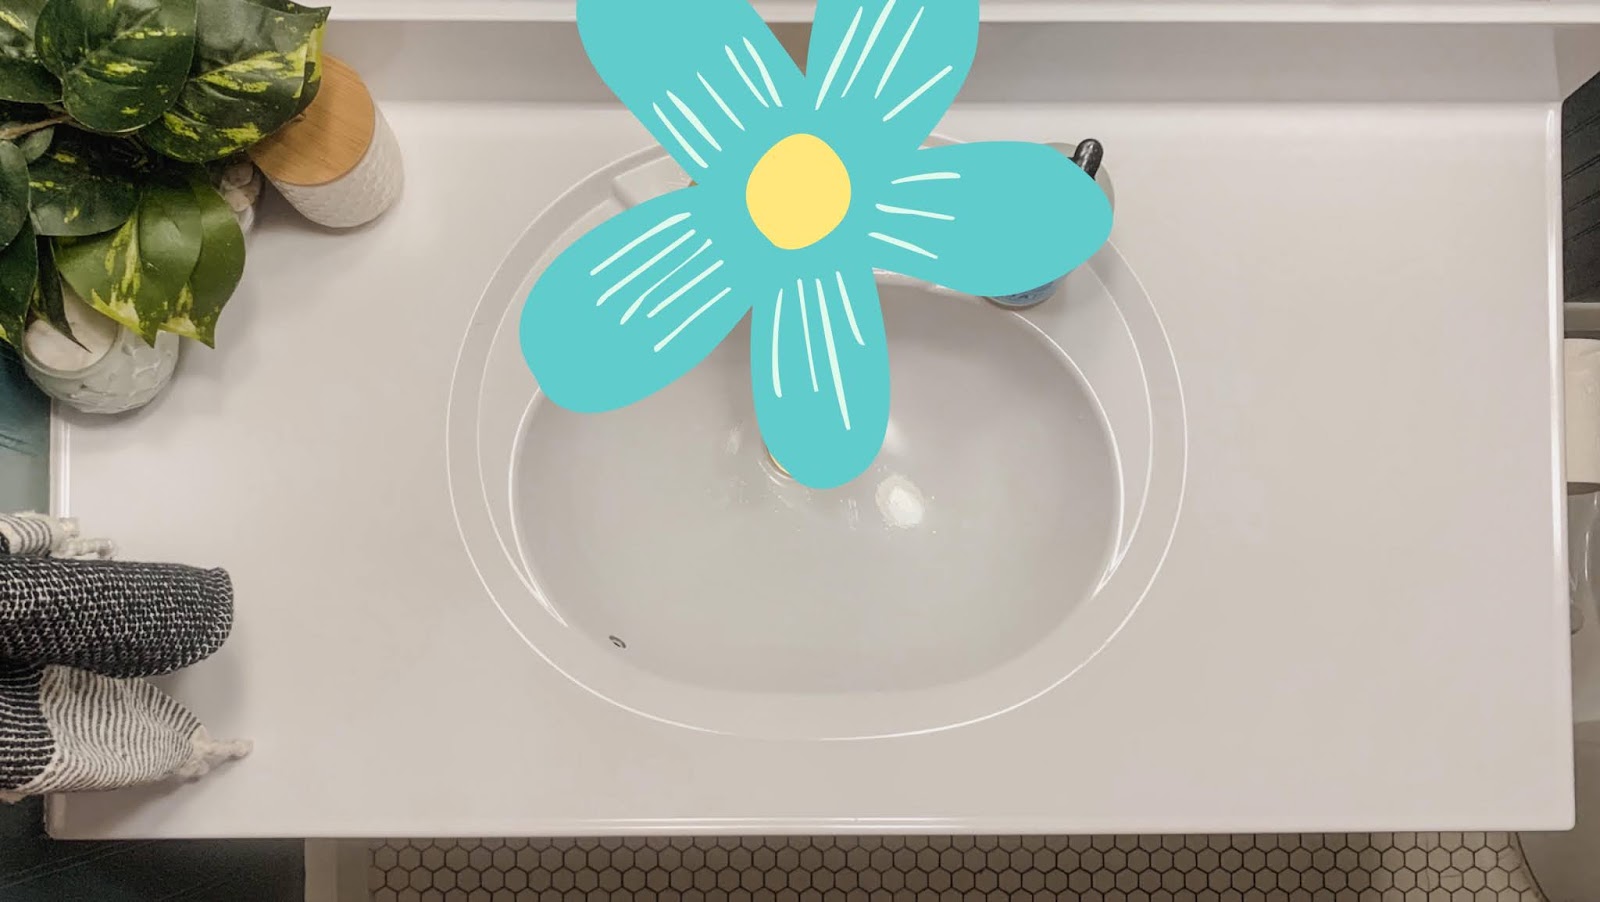
| here you can see the outline of the old faucet |
 |
| this is where the bubbling occurred I quickly wiped it off to reduce the damage |
 |
| as you can see in the top right corner there is some obvious imperfections |
Had I not made this mistake the countertops would have looked nearly perfect. So this was rather frustrating. But after sulking for a few hours I reminded myself this vanity is temporary. We have plans to upgrade to a newer and larger vanity in the future and the spray painted countertops were meant to be a temporary solution. And it without a doubt looks better than where we started, imperfections and all. So, was it worth it? My answer is yes, if you're looking for a temporary update. I can't speak to the long term durability but so far, we have had no issues with the countertops and sink chipping or peeling. For the cost you really can't beat the results, so long as you're willing to put in the work. Are you thinking about giving it a try? Do you have any questions? If so, please don't hesitate to comment here or send me a message via Instagram @elloreeinspired. Wishing you luck xoxo!

***note: use caution with spray paint and always use in a well ventilated area with proper protective gear

I've always wondered about this! Thanks for sharing! Great post.
ReplyDeleteIt looks so great, Courtney!!
ReplyDeleteNice article, Which you have shared. Your article is very informative and useful. Thanks for sharing this article here. kitchen countertops toledo
ReplyDeleteReally very happy to say, your post is very interesting to read. I never stop myself from saying something about it. You’re doing a great job. Keep it up. Granite Countertops Perrysburg
ReplyDeleteAwesome article. It is so detailed and well formatted that i enjoyed reading it as well as get some new information too.
ReplyDeleteInterior Designers in Chennai
Pooja Room Interior Designers in Chennai
Modular Kitchen Interior Designers in Chennai
False Ceiling Interior Designers in Chennai
Tv Showcase Interior Designers in Chennai
Cupboard and Wardrobe Interior Designers in Chennai
Bedroom Interior Designers in Chennai
Living Room Interior Designers in Chennai
Very nicely written article. Looking forward to many more articles in the future.
ReplyDeleteGarden decking tiles
It is a proficient article that you have shared here about granite countertops toledo I got some unique and valuable information from your article. Thankful to you for sharing this article here.
ReplyDeleteThis article gave me a lot to think about. Thanks for the read! Enjoyable read! Keep up the good work.
ReplyDeletetarpaulin
Excellent work sir...
ReplyDeleteheavy duty tarpaulin